Growing pumpkins in containers
A step-by-step guide to growing pumpkins in containers on your patio or deck
Pumpkins are arguably the most fun vegetable, right? Halloween! Jack-o-lanterns! Pumpkin pie! They’re bright, colorful, and fun to grow. But if you don’t have a huge garden or yard, is growing pumpkins in containers even possible?
Yes it is! While most pumpkins grow on huge sprawling vines, growing pumpkins in small spaces is totally possible as long as you have the right variety and a big pot or container.
You’re probably used to buying your pumpkins at a pumpkin patch, grocery store or garden center. So imagine how fun it will be to plant pumpkins for Halloween and watch them grow. Such a fun way to introduce kids to gardening!
A few key things to keep in mind — pumpkins need:
- A really big container
- Room to spread vines and/or a trellis for them to climb (and slings for the fruit!)
- Lots of warm, fertile soil
- Lots of water
So this isn’t your easy-peasy rosemary or oregano plant, happy to grow in any size pot with less-than-optimal conditions.
Pumpkins are fun to grow, but they do require more space and attention than some of the more common container-garden plants. I recommend choosing a miniature variety and using a big fabric planter … it works.
Read on for all the details and tips for growing pumpkins in containers!
This post may contain affiliate links. If you buy something through these links, we may earn a small commission at no cost to you.
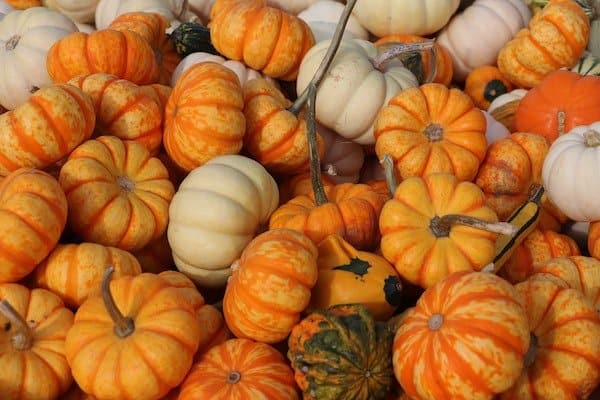
Growing pumpkins in pots
When to start pumpkins from seed or seedlings
Pumpkins are pretty easy to start from seed. The two main things to keep in mind are timing and temperature.
They don’t love cold, so it’s ideal to wait until at least a week or two after the last chance of frost in your area to plant seeds in your containers outdoors. Check your frost dates if you aren’t sure.
If you’re wondering when to plant pumpkins for Halloween, this timing is perfect. Pumpkins are slow-growers, usually needing 90-100 days to maturity. So if you plant in late May or early June, that puts harvest in mid-September or October … just in time for Halloween decorating!
How to plant pumpkins from seed
Plant 4-6 seeds in a large container, at least 10- or 15-gallon capacity.
TIP: See below for my #1 container recommendation and details on potting soil and fertilizer.
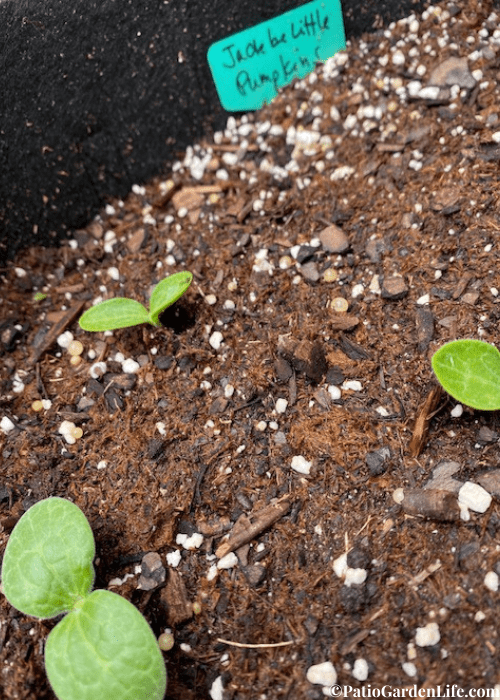
- After they’re planted, seeds should germinate in about a week. This season I planted mine a month after last frost, and they popped up big and strong after only about 5-6 days.
- Once they have one or two sets of true leaves (not the first little seedling leaves, known as cotyledon), thin them down to two or three per container.
If you live in a colder zone and have a short growing season, you can start them indoors a couple of weeks before last frost, to get a head start. Plant one seed per peat pot, in seed-starting mix or potting soil. Keep soil moist but not soggy, and place them in a very sunny window or under a grow light.
Transplant after all chance of frost has passed, and be sure to harden them off.
TIP: To harden off seedlings: Set them out in sunlight for a couple of hours per day for a few days, adding a bit more time and direct sunlight each day until they’re fully outside and situated in their new homes. Check out my post about how to harden off seedlings for more details!
How to plant pumpkins from seedlings
It’s usually faster and easier to start plants from seedlings rather than seed. However, it might not be easy to find seedlings for the specific varieties of pumpkins that do best in containers.
If you want to go the seedling route, I recommend asking growers at the farmers market or a local nursery. They may be more likely to carry more unusual varieties — and they’re a great source of advice about local growing conditions. (Find your farmers market in this cool USDA Local Food Directory!)
If you do start with seedlings, make sure they’ve been hardened off. You can ask the grower or store if they have been, but if you’re not sure, gradually expose them to the outdoors before planting in your containers.
Choose a container and a sunny spot
Pumpkins like: room to grow or climb, lots of sun, lots of food, lots of water
Pumpkins don’t like: small containers, shade, dry/infertile soil
Keep these factors in mind when deciding when, where and how to plant your pumpkins:
At least a 10-gallon container
I’ve used these Vivosun 15-gallon fabric grow bags for mini pumpkins and really like them! They also come in 10-, 20-, 25- and 30-gallon sizes. If in doubt, go for the 15- or 20-gallon size.
- It can be hard to find containers big enough for big vining plants like pumpkins, even the mini ones. If you don’t have a fabric bag or other sizeable container, and you’re gardening on a patio with enough room for it … consider using a kiddie pool. Some people swear by it. Just let the vines roam around away from the pool or trellis them.
- People often ask if you can grow pumpkins in 5-gallon buckets. This is a popular approach for tomatoes and other vegetables, but I wouldn’t attempt it with pumpkins. Find a 10-gallon bucket at minimum, or better yet, use a larger container that won’t crowd the roots.
Good-quality potting soil
- Some people mix their own potting soil, and if you’re doing a full container garden or growing several big plants, that’s not a bad idea. Check out my post about potting soil for container gardens if you’d like to learn more.
- Personally, I just buy the good stuff pre-made. It’s a lot easier, and there are some great options like:
- Fox Farm Ocean Forest Potting Soil Mix – a favorite with over 3500 5-star reviews
- Black Gold All-Purpose Potting Soil Mix – an Amazon Editorial Recommendation with over 1000 5-star reviews
- Miracle-Gro Potting Mix – the old stand-by, with over 13,000 5-star reviews
Compost and fertilizer
Pumpkins, like most vining plants that produce fruit, are big eaters and prefer well-fertilized soil.
- When planting, work in several big handfuls of aged compost. (You can buy it in bags or use your own. If you use your own, be sure to sift it first, to minimize the bugs and things you’re adding to the container.)
- Fox Farm Liquid Nutrient is a good option to use throughout the season. Follow package instructions for details and timing.
More fertilizer instructions below!
Full sun: 6-8 hours of sun per day
While you can move some container plants around to make the most of sun exposure, pumpkins need to be trellised (and they’re in huge containers), so they generally aren’t mobile.
That means you’ll want to find the sunniest spot possible to park them for the season.
What variety of pumpkin does best in a small space?
This probably won’t surprise you, but mini pumpkins and other small varieties do better in containers than the big jack-o-lantern types.
When I was first growing pumpkins, I searched for bush varieties because that’s often the type of other veggies you grow in containers. Bush cucumbers, bush zucchini, bush beans. But that’s not exactly the case with pumpkins.
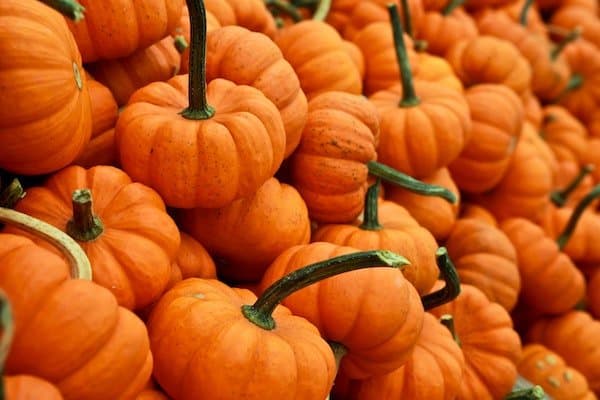
Bush and semi-bush pumpkins exist, but they can still have 3-6 foot vines and heavy fruit. Not ideal for containers and trellises.
So with that in mind, I recommend looking for pumpkins that produce miniature fruit, rather than something labeled as bush variety. They do much better in containers.
Popular options for container-grown pumpkins include:
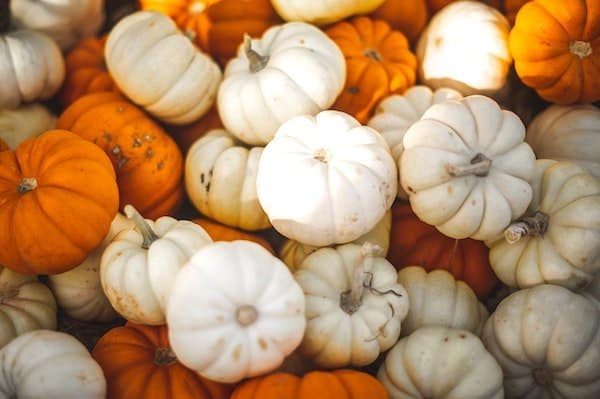
Mini with traditional orange colors
- Baby Bear – deep orange, 1.5-2.5 lbs, high yield, 105 days to harvest
- Jack Be Little – orange, 3” diameter, 95 days
- Munchkin – bright orange, 3-4” diameter, 100 days
- Wee Be Little – orange, baseball-size, .5-1.0 lb, semi-bush, 95 days
Mini with unique colors
- Baby Boo – white, 2-4” diameter, 95-100 days
- Little October – variety pack includes a range of miniature decorative pumpkins. Exclusively available from Botanical Interests: Little October Pumpkin Seeds.
Fast yield
- Kandy Korn Plus Hybrid – bright yellow-orange, 3”, bush plants, fast-growing at 75-80 days
- Spooktacular – bright orange, 5-6” tall, a little bigger than the minis at 4-5 lbs, 85 days
How to take care of pumpkins growing in containers
Have I mentioned that pumpkins are hungry and thirsty plants?? With big vines and fruit with a thick, bright, beautiful rind it makes sense they would need to be well-nourished. Even the minis!
Watering instructions
Water at least 1 inch per week, especially when you have fruit developing on the vine. Water deeply to make sure the roots get what they need. Make sure they aren’t sitting in soggy soil, though. Very few plants like to be overwatered.
Water at the soil level, to avoid soaking the leaves. That can invite powdery mildew, a common plant disease caused by a fungus. Pumpkins, melons, cucumbers and other vining plants tend to be susceptible to it. While it won’t necessarily kill the plant, it inhibits fruit production and can stunt growth in younger plants.
Use mulch to improve water retention and prevent weeds (yes weeds can set up shop in containers, thanks to the wind).
Fertilizer instructions
Ideally, you already mixed in some aged compost and/or slow-release fertilizer when you planted the seeds. Those help maintain a steady baseline, and then you can add a little extra throughout the season, based on the stage of growth.
- Many gardening experts recommend applying a high-nitrogen fertilizer early on, to encourage vine and foliage growth, starting when plants are a foot tall.
- Switch to a high-phosphorous fertilizer when flowers are about to bloom. Once flowers appear, be careful not to over-apply nitrogen fertilizer, as it can inhibit fruit production.
- Finally, apply a potassium-rich fertilizer like potash while the fruit are growing.
With all fertilizer, be sure to read instructions carefully so you don’t burn the plants.
If you don’t want to mess with the specifics, fish emulsion is a good option, or you can stick with a balanced fertilizer (like 8-8-8 or 10-10-10).
TIP: To check fertilizer composition, look for the three-part number, like 5-10-10 or 6-8-3. This refers to N-P-K, or Nitrogen-Phosphorus-Potassium. If you’d like to learn more about fertilizer, check out my Fertilizer 101 post
How to pollinate pumpkin flowers
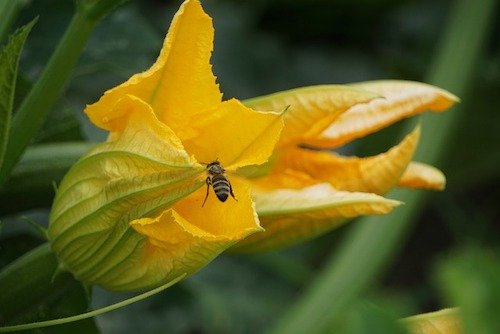
Like its cucurbit cousins zucchini and cucumber, pumpkins develop flowers that need to be pollinated to produce fruit.
Pumpkins have both male and female flowers that generally appear about 60 days after planting.
Some plants will produce several male flowers before a female appears. Female flowers are identifiable by the tiny bulge of baby pumpkin at the base. You can discard the males and even the first female, if the vines aren’t sturdy yet.
When you have a female flower, watch closely for it to start blooming. As soon as possible after it opens, use a male flower to hand-pollinate. You do this by snipping off a male bloom and peeling back the outer petals to reveal the center stem, or stamen.
Then simply rub the pollen from the stamen against the inside of the female flower. Some people use cotton swabs for this, but it’s not necessary.
Growing mini pumpkins on a trellis
As soon as the vines get about a foot tall, they’ll need support. Before then, make sure you have a plan for something they can climb.
Some options include tomato cages, wire fencing, or wooden trellises.
I have a fabric planter with a tall tomato cage. There are so many options though!
- These 72” tomato cages are taller than the wire ones you find at the store, and this kit gives you multiple set-up options.
- Garden obelisk trellises are a sturdy combination of iron and plastic, almost 6 feet tall.
- Trellis netting is sturdy, versatile and can be attached to a fence railing or overhang.
NOTE: Whatever you decide to use, it’s important to install it before or during the seedling stage. Driving a trellis into the soil near a more mature plant — or attempting to train established vines around a structure — could easily damage the plant.
How to create a sling for pumpkins
When growing pumpkins vertically, you need to give the fruit support or it can fall right off the vine. Even miniature pumpkins will fall off the vine if they’re left hanging!
Pumpkin slings don’t need to be fancy at all. A lot of people use pantyhose cut into individual pieces big enough to cradle the fruit. Really any kind of fabric or mesh could work. How about an old bra?? The possibilities are endless … just make sure it’s securely tied to the trellis you’re using.
Here’s a great short video that shows how to sling pumpkins with pantyhose: (H3)
When to harvest pumpkins
Miniature pumpkins are usually only a few inches across, so it doesn’t take long for them to be ready for harvest.
Make sure you know the expected size and color for the variety you planted, and when they reach that point, flick the skin to check for hardness.
When they’re ready to go, use a sharp knife or scissors to cut the pumpkin from the vine. Never tear them off, as that can damage the vine and the fruit.
Leave several inches of stem attached to the pumpkin, to slow decay.
How to cure pumpkins
Curing pumpkins helps them last longer, by hardening the outer skin. Just set them in a sunny spot for a few days to a week, and they should be good to go!
Most mini pumpkins are used for decoration rather than food, so curing them will help ensure your decor lasts throughout the fall season.
After curing, they’re best displayed or stored in cool, dry places.
So if you’re thinking about growing pumpkins in containers, go for it! Remember to give them a big container, plenty of water and fertilizer, and keep a close eye on the fruit to make sure they’re supported as they develop. You got this!
Related articles
Looking for more container gardening ideas? Try these!
- Veggies that grow well together in containers
- How to grow thyme in a pot
- Growing zucchini in containers
- Growing okra in pots
- How to grow catnip in pots
- How to grow parsley in a pot
- How to grow chamomile in a pot

Succulents and cacti are the perfect trendy plant for a container garden. They need a soil that will drain water very quickly. My best advice it to buy a special potting soil mix especially for succulents or cacti. Take pictures of each plant s location in the container and snap a picture throughout the growing season. This is a wonderful record of what plants look best together and do well! And those who don t too!