Growing celery in pots
A step-by-step guide to growing celery in containers
Here’s the thing about celery (besides the fact that it’s low-key amazing): It needs cool temperatures to thrive, below 70 degrees F for as long as 16 weeks. Growing celery in pots is totally doable, but timing will probably be different than the other veggies and herbs in your container garden.
Celery is often grown as a fall or spring crop for this reason. Unless you live in a year-round cool climate, it’s usually best to plant in mid-winter or mid-to-late summer.
In fact, if you live somewhere with a shorter cool season, using containers to grow celery can actually help. You can start celery in pots inside early, then move outside for the rest of the cool season.
If you’re looking for something different and interesting to grow out on your deck or patio this year, celery just might be the one to try.
This post may contain affiliate links. If you buy something through these links, we may earn a small commission at no cost to you.

Personally, I liked celery but didn’t love it until I started using it in two amazing ways: juicing and homemade stock. Now I’m obsessed!
Celery juice got a huge boost when the book Medical Medium Celery Juice: The Most Powerful Medicine of Our Time Healing Millions Worldwide came out in 2019. Author and celery guru Anthony Williams believes celery juice can help heal the gut, balance blood sugar and improve health overall.
I tried the recommended daily dose of celery juice for several months and loved it — it does give you a refreshing and super healthy way to start the day, whether all the lofty claims are 100% true or not. Try it yourself and let us know how it goes in the comments!
Read more about juicing and stock at the end of the article. But first … read on for instructions for growing your very own celery in pots or containers.
How to grow celery in containers
Celery needs cool temperatures to grow, and it’s a relatively slow grower than can take anywhere from 90-130 days from germination to harvest.
That means it needs about 15-16 weeks of temps between 40 and 70 degrees F. Anything higher or lower can force it to bolt (produce flower and seeds) and stunt growth.
Start celery from seed
It’s not easy to find celery seedlings for sale, so you’ll need to start your own plants from seed.
- Celery is heat intolerant and needs a prolonged cool season to thrive. So start seeds indoors 10-12 weeks before the last expected frost, for a spring harvest. For the fall growing season, sow 10-12 weeks before the first expected autumn frost date. In warm climates, plant mid-winter.
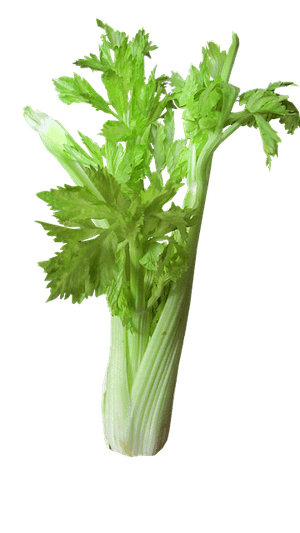
- Celery seeds are teeny tiny! Soak overnight in warm water before planting. Sow just ¼ inch deep, then lightly pat down the seed starting soil or mix to secure them.
- Keep evenly moist and warm, either in a sunny window or on a heat mat.
- After they’re planted, seeds should germinate in 1-3 weeks.
- When the seedlings are 3 inches tall, thin with kitchen scissors, leaving the strongest one. Keep in a sunny window and maintain soil moisture.
- Fertilize when seedlings are a few weeks old with seed starting fertilizer.
- Celery has a taproot and doesn’t love to be transplanted. If you started them in seed-starting containers, be sure to transplant them to their bigger home when they have at least three sets of true leaves. Then leave them be, so you don’t disrupt their delicate roots.
Choose a container and a sunny spot
Celery likes: cool temps, moist soil, lots of sun
Celery doesn’t like: heat, drying out, shade
These are all key factors when deciding where and how you’re going to plant:
- First, choose a container at least 8 inches deep for your seedlings or to direct-sow your seeds. Celery roots only grow a few inches deep, so it doesn’t need a huge pot: 8-10 inch diameter should be fine. Celery is a great option if you have a spare small container laying around.
- Avoid terracotta or clay pots, as they wick moisture and dry out quickly. Celery needs moist to wet soil, so plastic or glazed containers or fabric grow bags (my favorite option) are a better bet. If you’re planning to grow more than one celery plant, a long planter is another possibility.
- Celery does best in light, rich soil. Be sure to include a handful of aged compost or other slow-release fertilizer (Jobe’s Organics Vegetable & Tomato Fertilizer is one of my favorites) when planting. A handful of coffee grounds is also a good mix-in when planting celery and as a side dressing a few times throughout the season.
- Mulch around the plant to help keep soil cool and moist.
- Next, find a spot on your patio, deck or balcony that gets full sun at least 6-8 hours per day, if possible.
- Finally, once air temperatures reach a consistent 40-50 degrees F, harden off the seedlings before settling them in their location for the season. (Putting them out too early can cause them to bolt, meaning go to seed.)
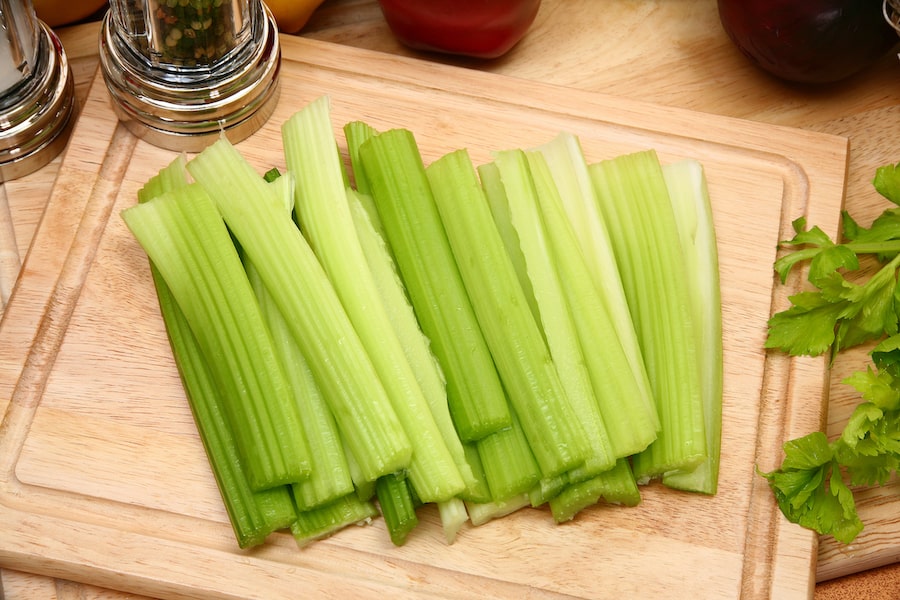
How to take care of a potted celery plant
Watering instructions
You know how celery is basically green, crunchy water? Well it needs a LOT of water to get that way. Insufficient water can lead to slow growth, hollow stalks and bitter flavor.
Make sure your celery consistently gets at least 1-1.5 inches of water per week, maintaining constant moisture levels. The ideal condition is moist, almost wet soil. Mulch can also help keep the moisture in.
Growing celery in pots can make it challenging to keep water levels consistent, as soil can dry out more quickly. So be sure to use the containers I mentioned above, mulch after seedlings sprout, and give your thirsty celery plenty to drink!
Fertilizer instructions
Celery is a heavy feeder, which means it needs plenty of nutrients. Along with the compost or slow-release fertilizer you mixed in when you first planted the celery, give it a boost every 2-3 weeks with an organic fertilizer like fish emulsion, or side dress with aged compost every month or so.
My favorite is the GS Plant Foods fish and kelp blend. This year I’m using it with some heavy feeders like pumpkins and zucchini, and they absolutely love it. I’m planning to use it again with my celery later this summer.
I recommend giving a good dose every two weeks (read the bottle for instructions – it’s easy – just dilute with some water in a watering can). It makes a great foliar spray as well, which helps plants absorb some nutrients through the foliage as well as roots.
How to blanch celery
One important thing to remember about celery is that it needs to be blanched 2-3 weeks before harvest or it will be bitter — unpleasant at best, inedible at worst.
To blanch means to make something white or pale. With produce, that often involves scalding the vegetable or fruit in boiling water for a few minutes and then dropping into icy cold water to stop the cooking process. This is often done as prep for freezing vegetables, as blanching stops certain enzyme actions and can preserve nutrients for freezing.
But with celery, we’re talking about a different type of blanching. The boiling-water method doesn’t fully remove the bitterness and can make celery mushy.
The best way to blanch celery is to wrap the stalks a few weeks before harvest, which prevents light from hitting them and triggering chlorophyll production. That’s what makes plants green – and makes celery bitter.
One of the easiest methods is to wrap newspaper or wide strips of paper grocery bags around the base of the plant and tie with a string or twine. The mounding and milk carton methods of blanching also work well.
Here’s a great video showing an easy way to blanch celery plants:
When to harvest celery
Celery is generally ready to harvest between 100-120 days after germination. This varies quite a bit by variety, so be sure to read the seed packet and make note in your gardening notebook or calendar.
You’ll know your celery is ready to harvest when it’s at least 6 inches tall from the base to the first leaves.
At that point, you can either harvest individual stalks as you go or wait until the whole plant is ready and harvest all at once.
If you’re reading this, you’re interested in growing celery in pots. In that case, you’ll most likely only have a couple of celery plants … so harvesting individual stalks as you need them will probably serve you better than waiting to the end of the season to cut down the whole thing.
To harvest individual stalks, cut off near the base with a sharp knife, using outside stalks first. If you haven’t blanched the celery, those outside stalks will be darker green and more bitter than the lighter, sweeter interior stalks. With blanching, the difference will be more subtle.
If you’d rather harvest the whole thing at once, cut along the base at soil level.
What variety of celery does best in a container?
Pascal is one of the most commonly grown varieties in North America, with a 120-day season. It does well in containers, reaching about 12 inches in height, and can handle a little shade.
Tall Utah is a stringless variety with 12-inch stalks, light flavor and a 100-day growing season. This is my favorite and the one I’m growing this year.
Golden has a relatively quick growing season, 85 days from germination to harvest. It’s known for its light color and thick, stringless stalks.
The best ways to use celery
My favorites: fresh juice and homemade stock. (Ants-on-a-log with peanut butter and raisins is a close third, hello childhood! Literally the only appropriate use for raisins.)
Celery juice goodness
Celery is an awesome addition to green juice, bright and fresh with a salty undertone. It’s high in vitamin K and rich in potassium, vitamin C, calcium, magnesium and more.
Did you know daily fresh celery juice in the morning is a thing? When I heard about it a couple of years ago, I tried it and quickly got hooked.
While I didn’t stick with the daily celery juice routine indefinitely, I did it for several months and felt like it gave my system a great nutrient boost. Celery juice fanatics say it’s best by itself, but you can also combine it with other fruits and veggies for juicing.
Celery juice gave me a deeper appreciation for this watery, crunchy, zero-calorie veggie and the beauty of starting the day with a big dose of green goodness.
Homemade chicken stock love
One of my favorite things ever about growing herbs and veggies is the ability to make delicious homemade stock with plants you grew yourself.
Here’s how I make easy homemade stock from my container garden:
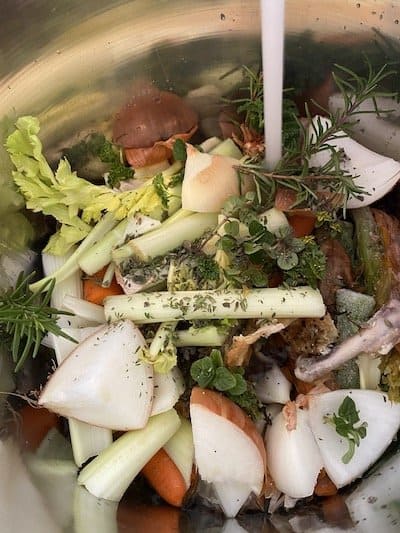
- Grow thyme, oregano, rosemary, and celery (along with whatever else you want!) to make sure you have good stock ingredients on hand.
- Whenever you want homemade stock, clip a couple of sprigs from each herb plant with sharp scissors.
- Drop in a stock pot with a chicken carcass (I use a rotisserie chicken after we’ve used the breast and thigh meat, it’s so easy) and some veggie scraps (which I collect in a gallon ziploc bag in the freezer).
- Throw in several homegrown celery stalks broken into big pieces, along with the leaves.
- Fill the pot with cold water to about 2-3 inches above the pile of ingredients.
- Bring to a boil, then simmer on low for 6+ hours. Add salt and pepper to taste.
- Strain and use fresh or freeze.
Homemade stock is awesome in soup, sauces, cooking liquid for rice, and even for sipping from a mug. Super healthy and delicious!
Prepare to impress yourself and never buy that stock in a waxy carton again.
So as you can see, if you’re looking for something interesting to try in your container garden this year, growing celery in pots is a great option! Just be sure to keep it cool and well-watered.
Looking for more ideas for your container garden?
- Growing okra in pots
- Growing zucchini in containers
- Veggies that grow well together in containers
- How to grow basil in a pot
- How to grow dill in a pot
- How to grow catnip in a pot from seeds
- How to grow cucumbers in pots

What kind of plastic pots are safe to grow in ?
I want to try to grow Chinese pink celery.
Thank you!
Hi Gloria! The main thing to remember is you need food-safe grade plastic. If you’re using 5-gallon buckets, for example, they might not be safe if they come from a hardware store or other non-food-industry source. One way to double check is the number in the recycling triangle on the bottom or lid: 1, 2, 4 and 5 are considered safe for growing food, while 3, 6 and 7 are not. Hope that helps!
Great information thank you! I’m starting Tall Utah in grow bags for the first time this year. For the homemade stock, I’ve started using my instant pot and setting it at 40 mins with a natural pressure release and it makes amazing stock so quick!