We are a participant in the Amazon Services LLC Associates Program, an affiliate advertising program designed to provide a means for us to earn fees by linking to Amazon.com and affiliated sites.
Prized for their mild onion flavor and edible purple blooms, chives are one of the hardiest perennial herbs you can grow. They’re well-suited for beginning and seasoned gardeners alike! If you’re ready to start growing chives in pots, read on, and we’ll cover everything from starting your seeds to harvesting chives for winter storage.
Chives (Allium schoenoprasum) are a flowering perennial plant commonly found across Europe, Asia and North America. It’s closely related to onions, garlic, shallot, leeks and scallions.
Chives are a popular herb in the kitchen. The hollow stems (also known as scapes, as with garlic) and immature flower buds can be used in a variety of ways, often found in egg dishes, potatoes, soups, and pasta.
The purple flowers are also edible and can be used in salads for a pop of color.
Adaptable to a range of conditions, chives do well in container gardeners, are a favorite among pollinators and, due to their strong aroma and sulfur compounds, are one of the best plants to grow for natural pest control.
This post may contain affiliate links. If you buy something through these links, we may earn a small commission at no cost to you.

How to grow chives in pots
Chives are an easy-to-grow herb with minimal care requirements. They love moist but not soggy soil and do best when watered every day or two, or when the top ½” of soil feels dry to the touch.
Chives prefer 8 hours of full sun, as do many of its herb cousins. But they’re quite adaptable and can even grow well in partial shade, particularly in hot climates.
Do chives do well in pots?
As perennials, chives will come back year after year, so they generally do best when planted in the ground, which helps them overwinter better and provides improved drainage and more consistent moisture.
That said, with proper care and an adequately sized pot, chives can do very well in container gardens!
Growing chives from seed
Chives should be started indoors approximately four weeks before your last frost date.
To sow, plant your seeds in pots or seed starting trays, cover with 1/8” of soil and keep well moistened until seeds germinate.
When determining how many chive seeds to plant, aim for two to three seeds per cell and thin the seedlings out after germination, so you have only a single seedling per cell.
As seedlings, chives can be rather finicky and slow growing, so it is best to avoid directly sowing them outdoors.
When to transplant chive seedlings
When they’re several inches tall, transplant your chives outdoors after your last frost date.
For larger planters, space the seedlings 10” to 12” apart, or place several chive plants in a minimum 8” diameter pot for a tighter planting arrangement.
Prior to transplanting, you’ll want to harden off your chive plants to prevent transplant shock. Check out my post How to harden off seedlings for full instructions!
Best varieties of chives for containers
- Organic common chives
- Garlic chives – popular in Asian cooking

Best containers for growing chives
When selecting a pot for your chive plants, try to find a pot that is at least 8” deep by 8” wide. Although bigger pots are always better for root development, a pot this size should meet the basic care needs of your chive plants and can even comfortably fit three or four plants for a larger harvest.
If you do choose to plant multiple plants in your planter, be sure to divide them into separate pots as they grow into a thick clump.
Although chives can grow happily in many different pot varieties, terracotta pots or fabric grow bags are often the best choices as they permit better airflow and drainage. You can fit several chive plants in these:
If, however, you’re working with a small outdoor space, why not try planting your chives in a vertical grow garden for something a bit different?

Growing chives in containers
Chives can be notoriously slow starters, usually taking about two to three weeks to germinate; however, some varieties can take up to three months to sprout.
To speed up germination, locate your chives in a warm location out of direct sunlight and keep soil consistently moist, but not soggy. Covering your pots with a plastic humidity dome or plastic wrap can help maintain humidity levels and encourage germination; just be sure to remove any coverings after your chives sprout to prevent issues with mildew.
Since they’re so slow to germinate, it’s easier to start them from seedlings you buy at the garden store or farmer’s market (find one near you in this handy farmers market directory!).
Watering instructions
Chives love moisture, so do your best to keep your plants well-watered, watering when the top ½” of soil feels dry to the touch.
Fertilizer instructions
Chives generally don’t need fertilizer, especially if you’ve enriched their soil with a good organic compost or aged manure prior to planting. High-quality potting soil should also have some fertilizer mixed in, which gives plants a boost for a month or two.
However, to keep your chives looking their best, try fertilizing once in early spring with a light application of a good, balanced organic fertilizer.

Common pests for chives
Chives’ oniony odor is repulsive to most garden pests, making chives naturally quite pest resistant; however, there are a few exceptions:
- Thrips
Thrips are tiny, winged insects that range in color from white to black. Feeding on plant juices which they suck from leaves and stems, thrips can cause silvery spots on plant leaves, stunted growth and viral spread.
To prevent thrips, ensure you check new nursery starts well for signs of infestation prior to planting and practice good garden maintenance, disposing of old, infected plant matter in winter via hot composting or burning.
If you have an existing thrip infestation, treat with neem oil or an organic insecticidal soap spray, reapplying every 7 to 10 days until there are no more signs of thrips.
- Onion maggot
Feeding on all members of the allium family, including onions, leeks and chives, onion maggots are the larvae of onion flies and feed on allium roots and bulbs. Acting as vectors for many plant pathogens, onion maggots can also cause wilted and stunted plants.
To prevent onion maggots, always perform proper crop rotation and consider adding floating row covers over your plants at the beginning of the season to prevent infestations. Dusting the soil around your chives with cayenne or chili powder can prevent females from laying their eggs on your plants too.
Best companion plants for chives
Chives are naturally pest-repellent, which makes them excellent plants to pair with just about any other herb or vegetable. Just select plants with similar care requirements and you should be good to go.
Some excellent choices for companion plants include:
- Other herbs, like cilantro, parsley or basil, that have similar light and watering needs.
- Plants that are prone to insect predation, such as roses, tomatoes and melons.
Do chives spread?
Chives don’t spread the way that other herbs, like mints, do. Instead, expect your chive plants just to get larger and more mounded. At that point you can separate them and repot in individual containers.
Chives are prolific self-seeders though, so if you want more chives, simply allow your plants to go to flower. They’ll be happy to seed themselves.

Chives growing stages
- When started from seed, chives can take several weeks to several months to germinate.
- Chives are ready to harvest when their leaves are about 6” tall; however, plants don’t reach full maturity until they are about three months old.
- Once chives are mature, they will begin to flower and produce seeds
- As perennials, chive plants should be divided every three to four years for optimal growth.
How to harvest chives
- Chives are ready to harvest when they are at least 6” tall.
- To harvest, snip off what you need using a clean pair of kitchen shears. For larger harvests, cut plants off 2” above the soil line.
- During the first year, harvest your chives only three to four times throughout the growing season.
- After the first year of growth, harvest your chives once a month, spring through fall.
Do chives grow back after cutting?
Yes! Not only will your chives grow back, but frequent harvesting encourages your chives to grow bushier and produce more leaves.
How to store chives
- To store chives in the fridge, remove any brown or mushy leaves and then gently roll your fresh chives up in a damp paper towel. Next, place your chives in a sandwich bag and store it in your crisper drawer. Stored in this way, chives should last about one to two weeks.
- For longer-term storage, try dehydrating your chives and then crumbling them into a spice container for easy use. For more details, check out my post about how to dry herbs.
- Alternatively, chives can be frozen either whole in freezer bags or chopped and formed into ice cubes with a little olive oil. Just be sure to press out as much air as possible from your bags prior to storage, to prevent freezer burn.
More ideas for growing herbs in your container garden:
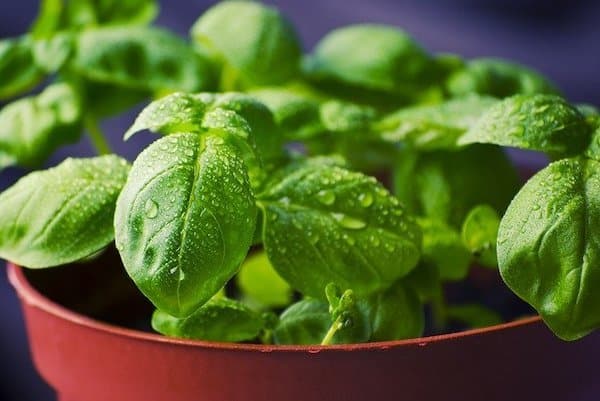
- How to grow basil in a pot
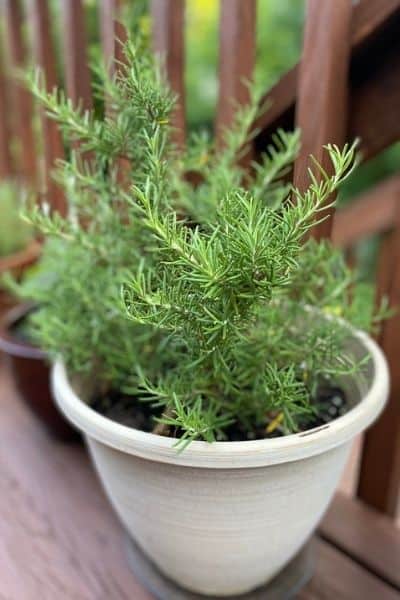
- Growing rosemary in containers
- How to grow thyme in a pot
- How to grow catnip in a pot
- Growing chamomile in pots
- Growing cilantro in pots
- How to dry herbs
- How to grow lavender in pots
- Best container garden herbs for beginners